Live Chat documentation
Install the widget, configure it, and start chatting with visitors. Most setups take under 10 minutes.
Widget Installation
Add the chat widget to your website with a single script tag.
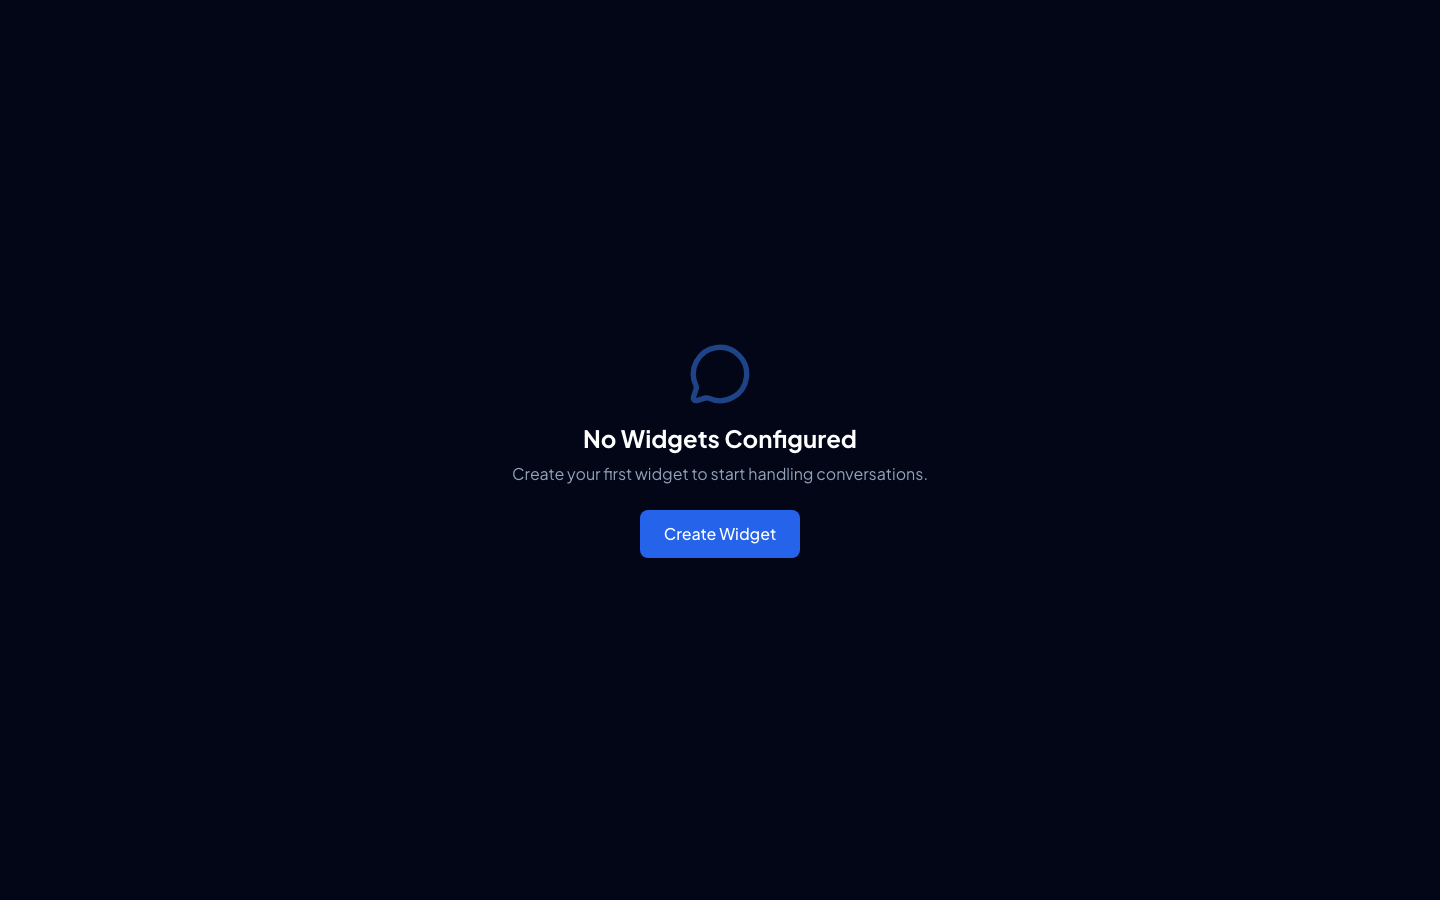
Create a Widget
Sign up for an account and create your first widget from the dashboard. You'll receive a unique Widget ID.
Go to DashboardAdd the Script
Copy and paste this code snippet into your website's <head> or before the closing </body> tag.
<script>
  (function() {
    var script = document.createElement('script');
    script.src = 'https://cdn.stackbloom.com/widget.js';
    script.async = true;
    script.onload = function() {
      StackBloomChat.init({
        widgetId: 'YOUR_WIDGET_ID',
        position: 'bottom-right',
        primaryColor: '#3B82F6'
      });
    };
    document.head.appendChild(script);
  })();
</script>Test Your Widget
Visit your website to see the chat widget appear. Click it to send a test message and verify everything is working correctly.
Configuration options
Control how the widget looks and behaves.
| Option | Type | Description |
|---|---|---|
widgetId | string | Your unique widget identifier (required) |
position | string | Widget position: 'bottom-right', 'bottom-left' |
primaryColor | string | Widget theme color (hex format) |
greeting | string | Custom greeting message |
userInfo | object | Pre-fill user data (name, email, customData) |
showWhenOffline | boolean | Display widget even when agents are offline |
Example:
StackBloomChat.init({
  widgetId: 'widget_abc123',
  position: 'bottom-right',
  primaryColor: '#3B82F6',
  greeting: 'Hi! How can we help you today?',
  userInfo: {
    name: 'John Doe',
    email: 'john@example.com',
    customData: {
      plan: 'pro',
      userId: '12345'
    }
  },
  showWhenOffline: true
});
Using the dashboard
Where you manage conversations, team members, and settings.
Conversations
View and respond to all customer conversations in real-time. Filter by status (open, closed, assigned) and search by customer name or message content.
- Real-time message updates
- Conversation assignment
- Customer information sidebar
Team Management
Add team members and assign roles (Admin, Manager, Agent). Control permissions and monitor individual performance.
- Role-based access control
- Online/offline status
- Performance metrics per agent
Analytics
Track key metrics like response times, satisfaction scores, and conversation volume. Export data for deeper analysis.
- Real-time dashboard
- Custom date ranges
- CSV export (Pro+)
Widget Settings
Customize your widget's appearance, set business hours, configure offline forms, and manage integrations.
- Appearance customization
- Business hours & offline mode
- Third-party integrations
Key features
Canned Responses
Create and manage pre-written responses for common questions. Use variables for personalization.
Manage Responses →AI Auto-Responses
Train AI on your knowledge base to automatically respond to customer queries.
Configure AI →Conversation Flows
Build automated conversation workflows for common scenarios and routing.
Create Flows →Integrations
Connect with Slack, Microsoft Teams, and other tools your team already uses.
View Integrations →API documentation
Use the REST API to manage conversations, look up customers, and pull analytics data.
REST API
Standard HTTP endpoints for all operations
WebSocket API
Real-time event streaming and messaging
Webhooks
Receive events via HTTP callbacks